Z1-LS
G&L Based Lap Steel

Z1-LS
G&L Based Lap Steel
I am doing 2 overlapping Lap Steel (LS) builds. The first pix is of a maple guitar, the remainder are of an ash guitar.
I forgot to take similar pix of the ash guitar, so I am using the maple one here.

My lap steels are 3” wide in the neck, and 6” wide in the body. I have penciled in where the 12th & 24th frets should go, as well as the bridge. I marked in the pick guard because I am going to use a Z-Coil (WR bridge) for the pup, and I can’t route it accurately. So I will bathtub route it, and mount the pup in the pick guard like a Z-3.

For my first LS I found a guy to
make me a custom (brass) bridge & nut. For this build, I wanted to use as much off the shelf stuff as I could. The nut is a piece of corian that a luthier friend gave me, sanded to 1/4” thick. The route for it is about 1/16” deep.
Custom stuff is real nice, but expensive. Custom nut - $45, materials & machining. Corian - $5.
And yes. I write on my wood as I work. It helps.
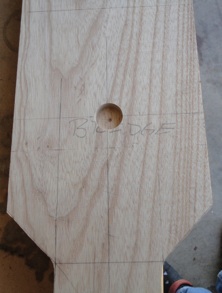
I decided to use a Saddle Lock Bridge (SLB) for this build, since I am using a G&L pup. This hole is where I will routing.
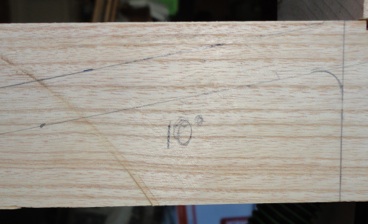
For my first build, I used a flat head stock, meaning that I needed to use string trees to get the proper break angle. For this one I am using an angled headstock, at 10º.
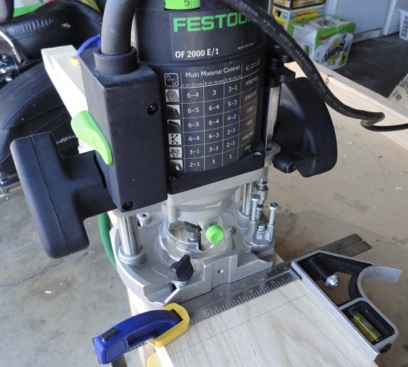
The SLB has a flange on the bottom, and you need to route a space for it. One nice thing about the Festool router is that it has index marks on the center lines, North, East, South, and West. So I placed the router on the center of the line I needed to route, and then placed a guide to keep me from moving forwards & back.
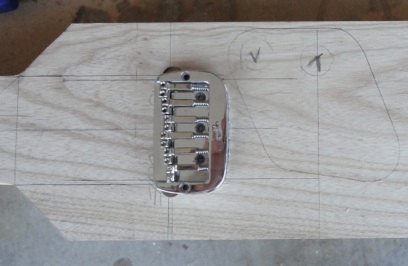
Problem: I routed to the East/West router center line, forgetting that the router bit adds to the width. So I filled it with wood putty.
And you can see where I marked in my controls & Gibson back plate.
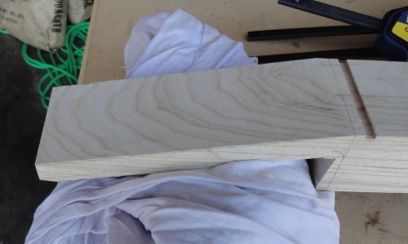
I cut the headstock on a large band saw. All hand tools, no CNC on this thing.
For better or worse.
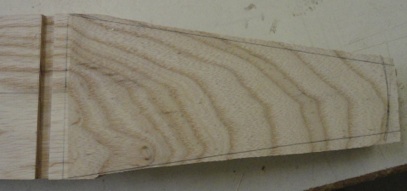
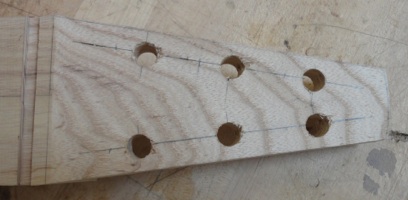
The headstock after shaping & drilling for tuners.
The bridge on, tuners & nut in, with kite string. No grooves in the nut yet, so things don’t quite line up.

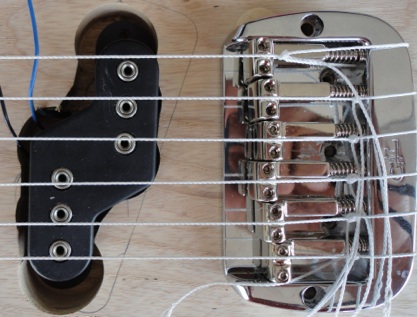
I cut grooves in the nut, and ran strings to check my alignment.
The pup route will be covered by the pick guard.
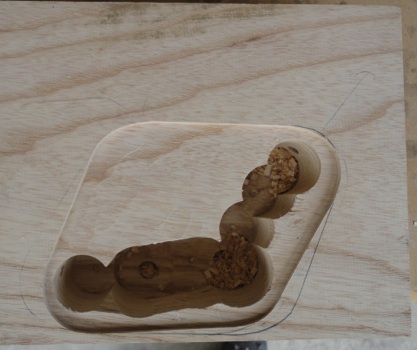
The routing for the controls and the back cover plate.
This is what the back plate route looks like finished. It’s bigger than it really needs to be, because it was easier to drill the hole for the pup wires this way.
And I left the “F” out the SN.
